How to Add a Column & Resize (Extend) a Table in Excel
In this article, you will learn how to extend a table by adding a column in Excel.
When working with tables in Excel, you can resize them by using the Resize Table option in the Table Design tab or by simply inserting a column.
Resize Table by Adding a Column in Table Design
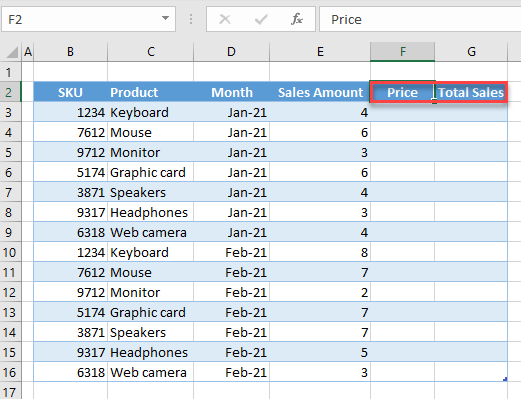
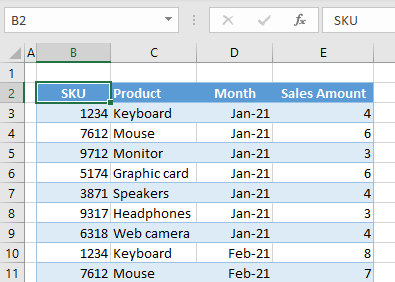
Say you have the sales data table with columns for SKU, Product, Month, and Sales Amount.
If you want to add Price and Total Sales to the table, you’ll need to add two columns to the right.
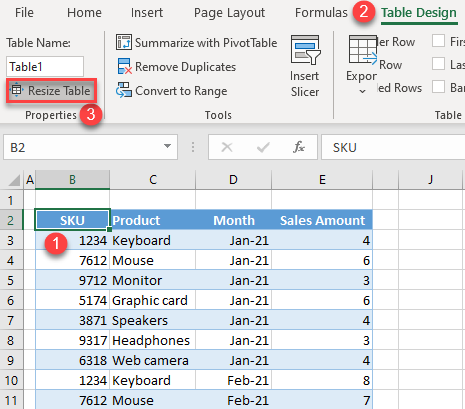
1. First, select the table by clicking on any cell in it. After that, in the Ribbon, go to the Table Design tab, and in the Properties group, click on Resize Table.
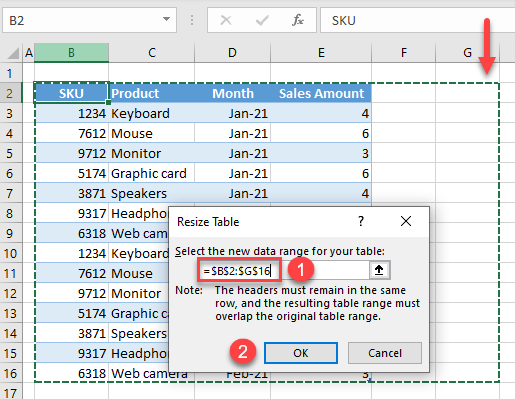
2. In the pop-up screen, change the range for the table and press OK.
Since you want to add two more columns to the right, expand the range for Columns F and G, and the new range is B2:G16. As you can see, when you enter a new range, the dashed line will highlight the table size.
As a result, the table got two new columns (F and G) named Column1 and Column2.
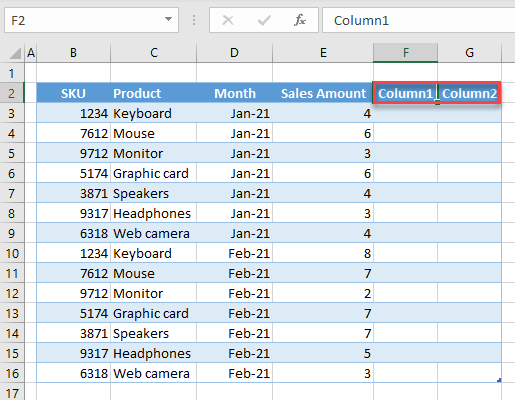
3. Finally, rename the columns. To rename Column1, enter Price in cell F2; and to rename Column2, enter Total Sales in G2.
Now you’ve resized the table and added the columns Price and Total Sales.
Insert a Column into a Table
Another way to extend a table is to insert a new column.
1. Right-click on the Sales Amount column, then go to Insert, and click on Table Column to the Right.
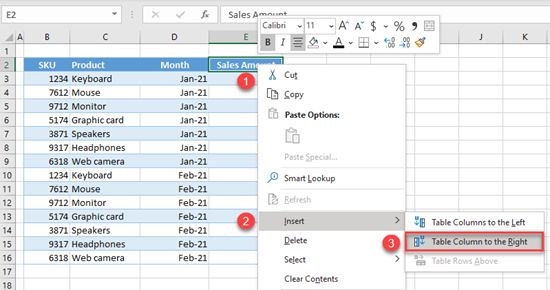
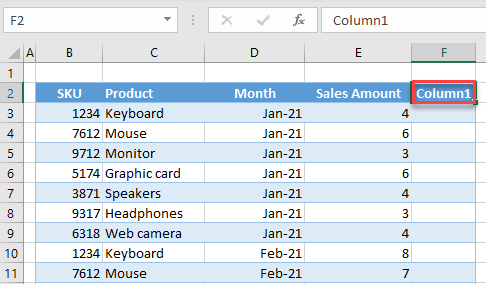
As a result, a new column (named Column1) is inserted to the right of the selected column (Sales Amount).
2. Then add one more column to the right in the same way.
3. If you rename these two columns Price and Total Sales, you’ll arrive at the same result as using the Resize Table option.