How to Add a Page Border in Excel & Google Sheets
This tutorial demonstrates how to add a page border in Excel and Google Sheets.
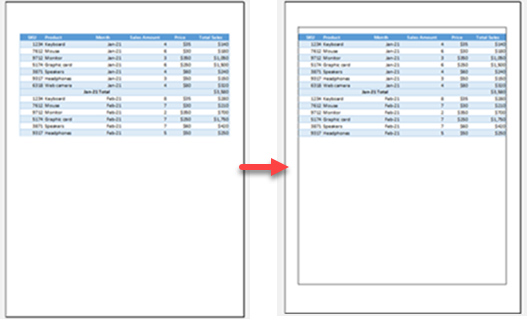
Draw a Page Border
To make your document look more professional, you can add a border around the page. To achieve that, follow these steps:
1. In the Ribbon, go to View > Page Break Preview.

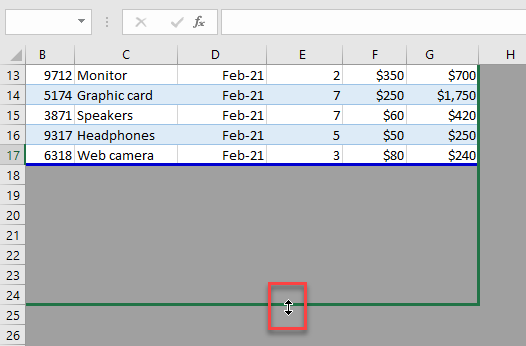
2. Then, resize the page area to fit page dimensions by dragging the page borders.
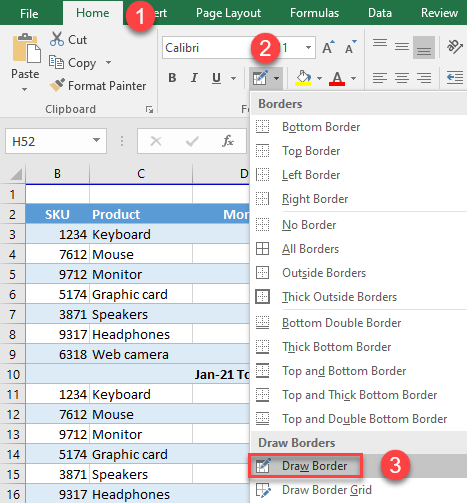
3. After that, in the Ribbon, (1) go to Home, (2) click on Borders icon, and from the list (3) choose Draw Border.
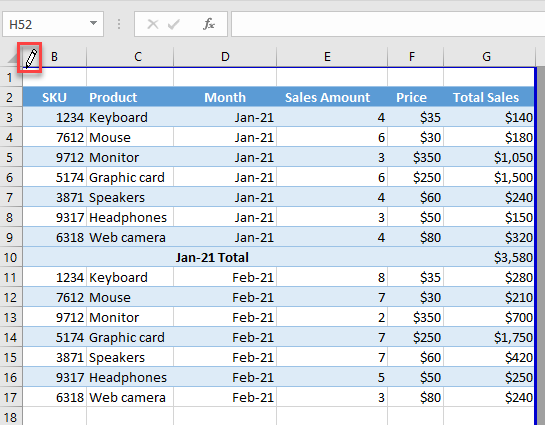
4. Draw the border around the page margins (blue lines).
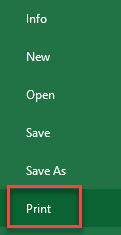
5. When done with the drawing, to preview the result in the Ribbon go to File and click on Print.
Note: If you have multiple pages in your workbook, you need to manually draw each page border.
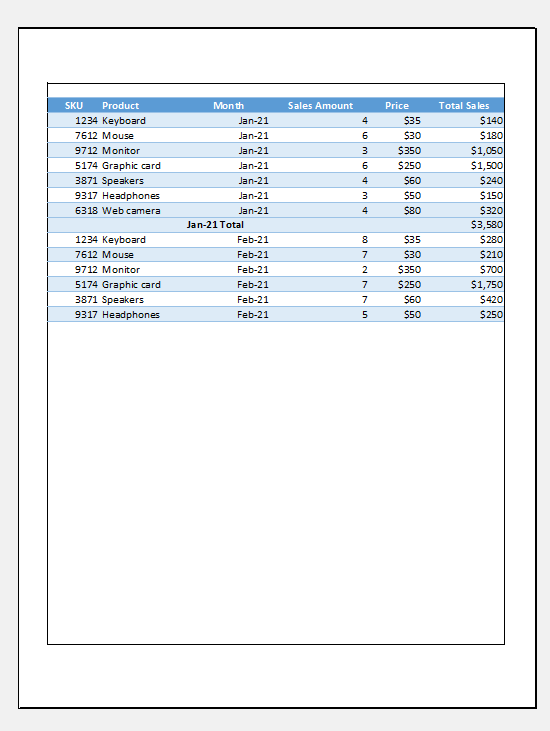
As a result, the border around the page is added.
Draw a Page Border in Google Sheets
In Google Sheets, there is no direct way to create a page border, but there is a workaround. To do that, follow these steps:
To create a border for portrait orientation, (1) select the range A1:N90. Then in the Menu, (2) click on the Borders icon and (3) select the Outer borders.
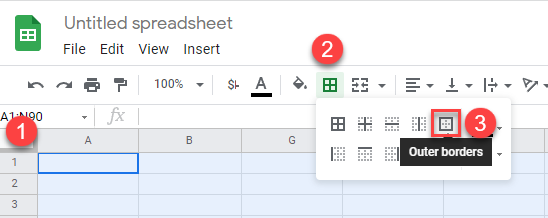
As a result, the page border is created.

To create a page border for landscape orientation, select the range A1:Q59 and in the Menu click on the Borders icon and select the Outer borders.

Note: This method works only with default cell sizes. If you change the row height or column width it will expand to page two.