How to AutoFit Columns in Excel & Google Sheets
This tutorial demonstrates how to autofit columns in Excel and Google Sheets.

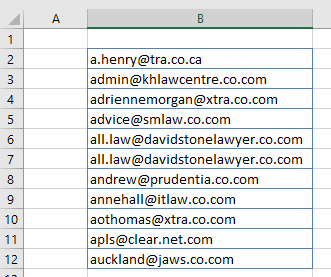
When you create a new worksheet in Excel, each column has a default equal size. When you type more information into a cell in a column, the text spills over to the adjacent cell as long as that adjacent cell is blank. If the cell is not blank, then the text looks like it has been cut off as the only visible text is what fits into the actual column size.
There are a number of ways you can make the size of your columns autofit to show all the text that is contained in each cell.
Double-Click the Column Header
To autofit a column using the column header, position your mouse at the right side of the column you wish to size.

Once the mouse pointer has changed to the one illustrated in the graphic above, double-click the mouse.
AutoFit Column Width With the Ribbon
Highlight the column you wish to size and then, in the Ribbon, select Home > Cells > Format > AutoFit Column Width.

Note: if you click in a single cell in the column, then the column width is sized to the length of the text in that cell, and not the longest text in a cell in the column itself.
AutoFit Column With Keyboard Shortcut
There is not a dedicated keyboard shortcut for adjusting column width, but you can use the ALT key to do so if you prefer using the keyboard to the mouse.
- Click in the column you wish to size.
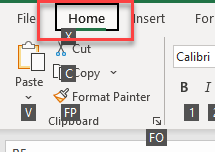
- Press ALT + H to activate the Home tab on the Ribbon.

- Press ALT + O to activate the Format command in the Cells group.

- Press ALT + I to auto size the column accordingly.

The column is sized to the length of the text for the cell that is selected.

How to AutoFit Columns in Google Sheets
You can autofit your columns in Google sheets by double-clicking on the column header. As with Excel, position your mouse at the right side of the column you wish to size.

Double-click to autofit the column width to the widest contents of the column.