How to Insert Pictures / Images in Excel & Google Sheets
This tutorial shows how to insert pictures in Excel and Google Sheets.
Insert Single Picture
There are several ways to insert pictures in Excel. To insert a single picture, follow these steps:
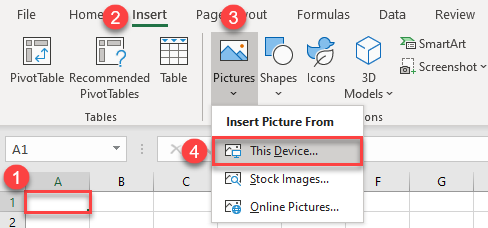
- Select the cell where you want the picture to start and in the Ribbon, go to Insert > Pictures > This Device. If you select cell A1, for example, then the upper left corner of the picture aligns with the upper left corner of A1.
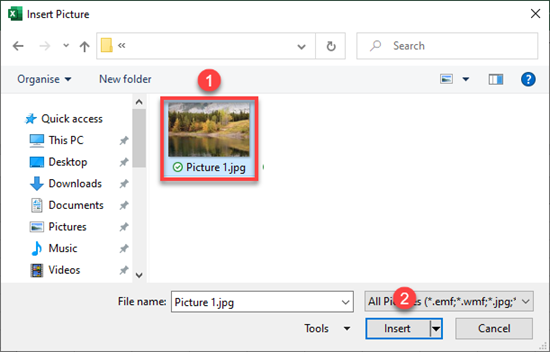
2. In the Insert Picture window, select a picture to insert, and click Insert.
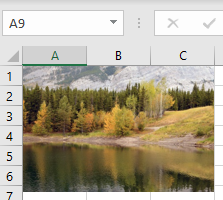
As a result, the selected picture is inserted into the worksheet.

Moving and Editing a Picture
If you click on the picture, a new Picture Format tab appears. There, you can find options for editing pictures, such as resizing, editing colors, inserting borders and effects, cropping, etc.
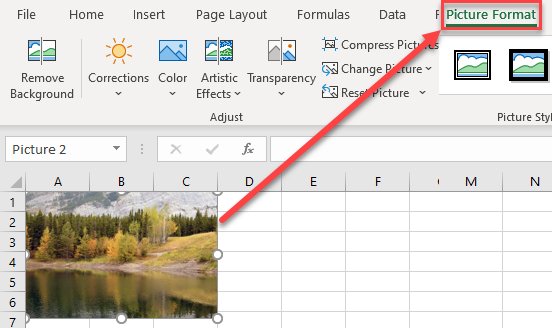
To move the picture to a new position in the worksheet, follow these steps:
- Position the cursor over the picture until it turns into a white pointer with a four-sided black arrow. This cursor is used for selecting or moving pictures.
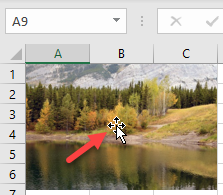
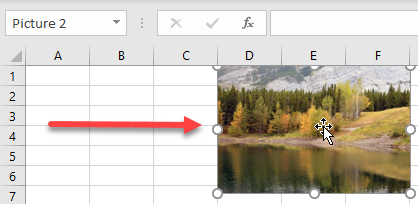
- Drag the picture to the desired position (for example, cell E1) and drop it. This way, you can move pictures inside the worksheet.
Insert Multiple Pictures
You can also insert multiple pictures in a worksheet at once.
- Select the cell where you want your pictures to start (A1) and in the Ribbon, go to Insert > Pictures > This Device.

- In the Insert Picture window, hold CTRL on your keyboard and click on the pictures you want to insert. Then click Insert.
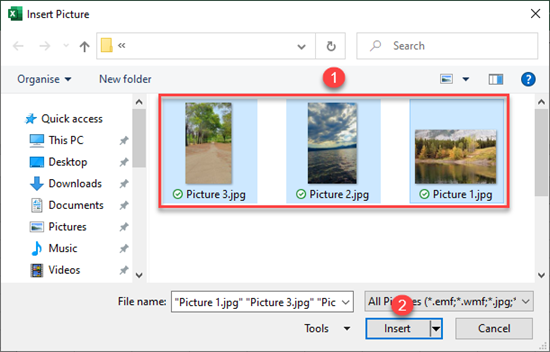
As a result, all three pictures are inserted from the selected cell (A1). When you insert multiple pictures at once, they always overlap.
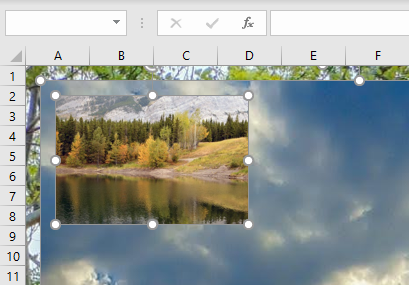
Use steps from the previous section to reposition the pictures so they are displayed properly.
Insert Picture in Google Sheets
In Google Sheets, you can insert only one picture at a time, so if you want to insert multiple pictures, do it one-by-one. To insert a single picture, follow these steps:
- Select the cell where you want your pictures to start (A1) and in the Menu, go to Insert > Image > Image over cells. If you choose Image in cell, the picture is resized to fit into the selected cell.
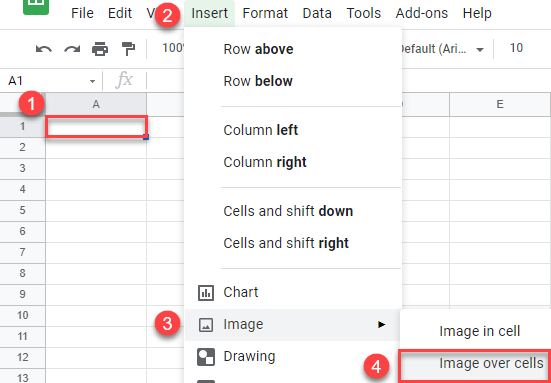
- In the Insert image window, click Browse to upload an image from the computer. Here you can also choose to take a picture with the camera, insert a URL, upload from Google Photos or Google Drive, or search for an image on Google.

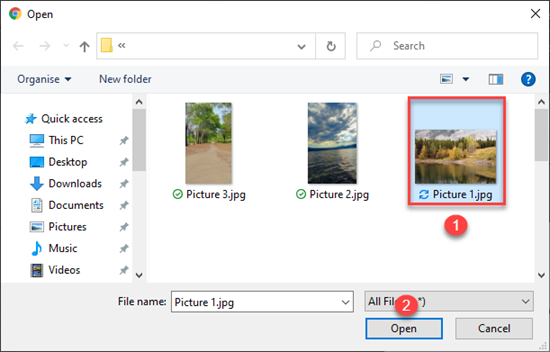
- In the Open window, select the picture you want to insert (Picture 1.jpg), and click Open.
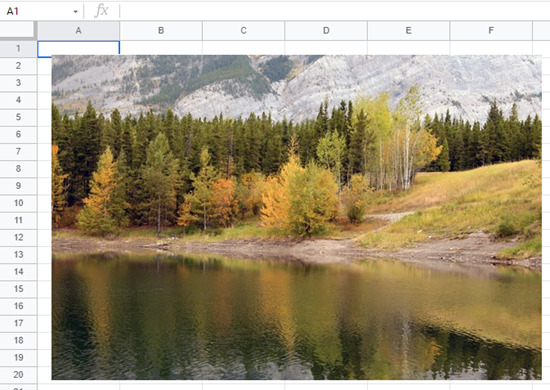
Finally, the selected image is inserted in your Google Sheets worksheet.
Moving a Picture in Google Sheets
To move a picture in the sheet, follow these steps:
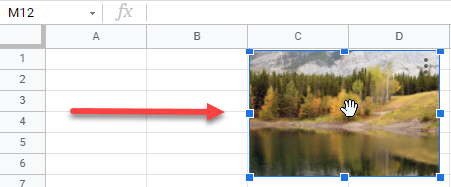
- Select the picture and the cursor turns into a white hand. This cursor is used for moving pictures.
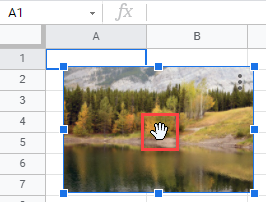
- Drag the picture to the desired position (for example, cell C1) and drop it. In this way, you can move pictures inside the worksheet.
