How to Mark a Workbook as Final in Excel
This tutorial demonstrates how to mark a workbook as final in Excel.
Mark a Workbook as Final
In Excel, you can mark a workbook as final. This makes the file open in read-only mode, with a warning. The warning doesn’t prevent a user from changing a file, but it shows that a file is final and shouldn’t be changed. This can be useful to inform members of a team who share the file that it’s completed.
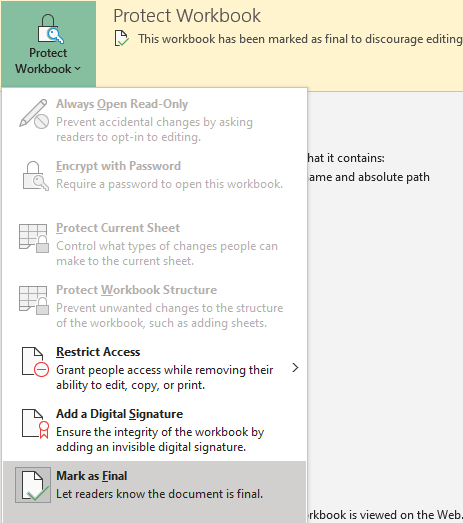
1. In the Ribbon, go to File > Info.

2. Click Protect Workbook, and choose Mark as Final.

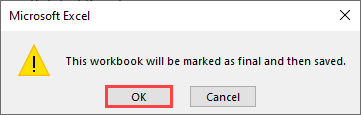
3. When the warning pop-up appears, click OK.
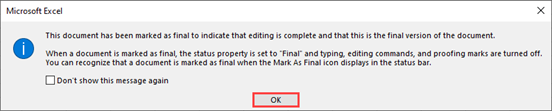
4. Another pop-up window appears with the message that the document is completed and marked as final. Click OK.
Finally, the file is marked as final and opened in Read-Only mode. There is a yellow message at the top; if you want to edit the workbook, click Edit Anyway.

Remove the “Mark as Final” Flag
When you go to File > Info in a Final file, there’s a message that the workbook has been marked as final. To change this, click again on Protect Workbook, and Mark as Final.