How to Password Protect / Encrypt a File in Excel
In this tutorial, you will learn how to protect (or encrypt) a file in Excel.
Protect / Encrypt a File – Info Settings
There are several ways to protect an Excel file with a password. Here are the steps for encrypting a file with Info settings:
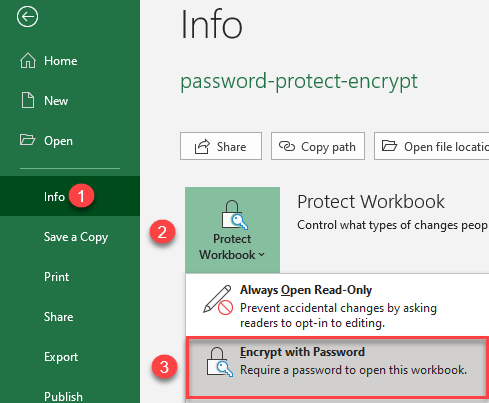
1. In the Ribbon, (1) go to File > Info, (2) click Protect Workbook, and (3) Encrypt with Password.
2. In the pop-up window, enter a password, and click OK.
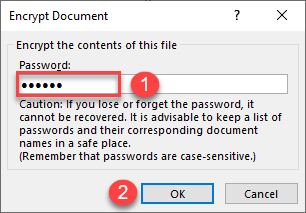
3. Reenter the password.
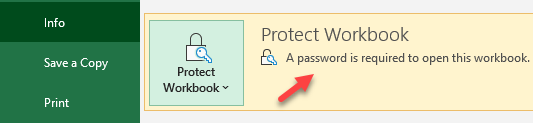
As a result, the workbook is protected with a password, and if you go back to the Ribbon, File > Info, you’ll see the message that a password is required to open this workbook.
Password-Protect a File in the Review Tab
Another way to encrypt a file with a password is to go through the Ribbon and follow these steps:
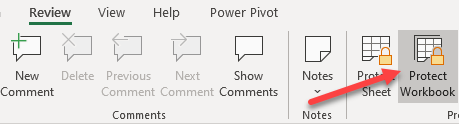
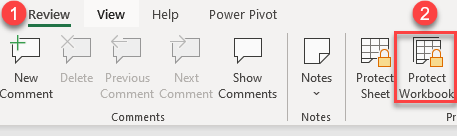
1. In the Ribbon, go to Review > Protect Workbook.
2. In the pop-up window, enter a password, and click OK.

3. Reenter the password.
Now the file is locked with a password, and if you go back to the Review tab, you’ll see that the Protect Workbook icon is grayed.
Password-Protect a File During Save
You can also protect an Excel file while saving it.
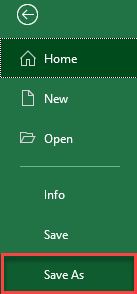
1. In the Ribbon, go to File > Save As.
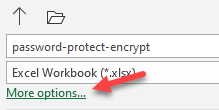
2. In the save window, click More options.
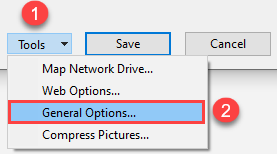
3. In the bottom right part of the browse window, click Tools, and General Options.
4. Finally, in the General Options pop-up, enter a password to open and modify, and click OK.
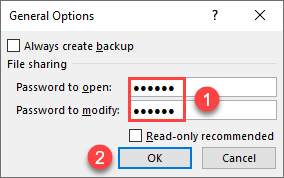
5. Enter the password once more to confirm.
The file is now locked with a password.