How to Save File as Read Only in Excel & Google Sheets
This tutorial demonstrates how to save a file as read-only in Excel and Google Sheets.
Save as Read-Only
An Excel file can be saved as read-only to prevent users from changing the content. To edit the file, the user is asked on opening to allow editing.
- To enable read-only mode, in the Ribbon, go to File > Info.
- Click Protect Workbook.
- Then select Always Open Read-Only.

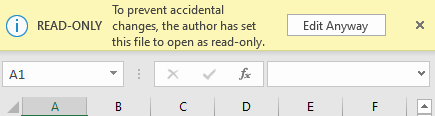
As a result, the user is asked to enable editing every time the file is opened.
When you click Edit Anyway, the file can be edited.
Protect With a Password
You can also password-protect an Excel file in order to make it read-only. In this case, a user can enter a password to edit a file or open it in read-only mode.
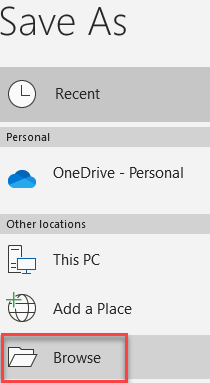
- In the Ribbon, go to the File tab, and choose Save As.

- Choose Browse.
- In the Save As window, click Tools > General Options.

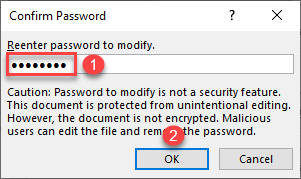
- In the General Options window, enter a password to modify, and click OK.

- Reenter the password, and click OK.
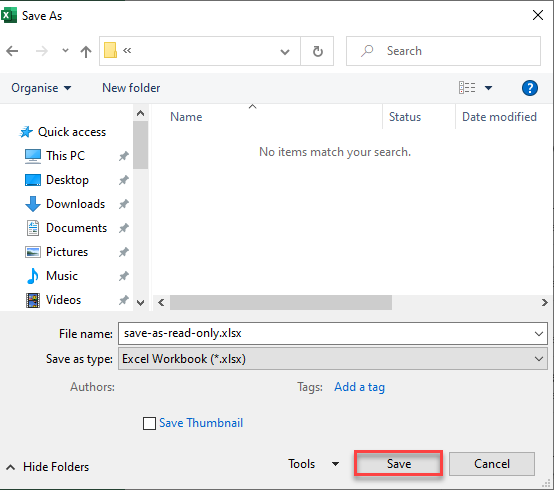
- In the Save as window, click Save.
Now when you open the file, you get a prompt to enter a password to modify the file. If a user doesn’t have a password, they can open the file as read-only.

Set Permissions to Protect a Google Sheet
In Google Sheets, there is no read-only setting like there is in Excel. To protect a range or a whole sheet from changes, you have to set permissions.
- In the Menu, go to Data > Protected sheets and ranges.

- The Protected sheets and ranges section appears on the right side. Click Add a sheet or range.

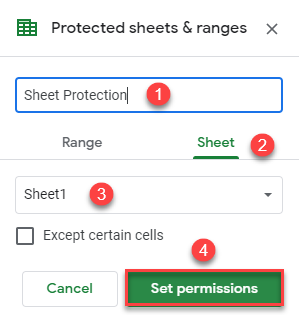
- (1) Enter a description of the protection. Then (2) under Sheet, (3) choose a sheet to protect and (4) click Set permissions.
- You can set three types of editing permissions:
- Show a warning when editing
- Only the owner of the file can edit
- Specify users who can edit the file
For this example, leave the default option (so that only the owner can edit the file) and click Done.

As a result, if anyone apart from the owner tries to edit the sheet, Google Sheets will reject the changes.
Change Permissions – Google Sheets
There’s also the option to change permissions so that Google Sheets displays a warning when you’re editing the sheet.
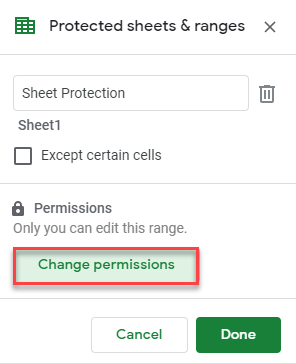
- In the Protect sheets & ranges window, click Change permissions.
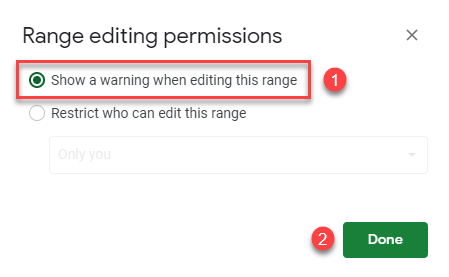
- Select Show a warning when editing this range, and click Done.
- Now if you try to change any cell in the sheet, you get the warning shown in the picture below. Click OK in order to allow the changes, or Cancel if the edits are unnecessary.

Specify Users
Another option is to specify users (by email address) who can edit the file.
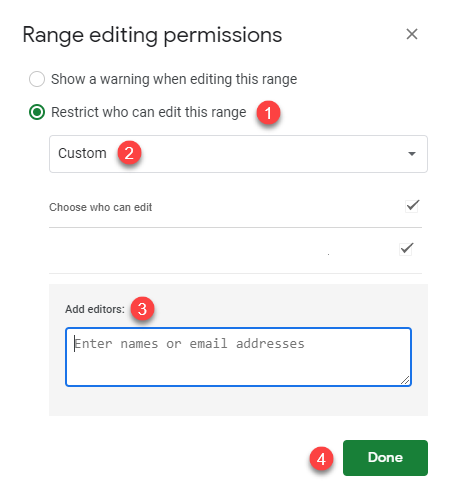
- In the Range editing permissions window (see Step 2 in the previous section), select Restrict who can edit this range.
- Choose Custom from the drop-down-list.
- In the Add editors box, enter names or email addresses of users.
- Then click Done.
As a result, all users specified in Step 4 have access to edit the Google Sheets file.