How to Use Word Wrap in Excel & Google Sheets
This tutorial demonstrates how to use word wrap in Excel and Google Sheets.

Word Wrap
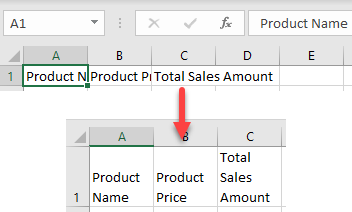
If your text length doesn’t fit the width of the cell, Excel won’t display the whole text or will display it over the nearby cells. To avoid this, and display the whole text in a cell, without changing its width, you can wrap the text into multiple rows. Say that you have the following texts in cells A1:C1.

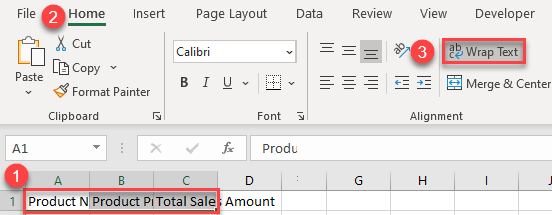
To apply word wrap, select the cell or a range of cells where you want to wrap text (in this case A1:C1), and in the Ribbon, go to Home > Wrap Text (or use the keyboard shortcut).

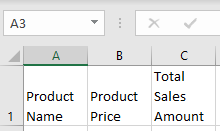
As a result, text in the selected range is wrapped to fit cell width. Excel will automatically split the text into multiple rows to fit the whole text.

Word Wrap in Google Sheets
As in Excel, you can also use the word wrap functionality in Google Sheets.
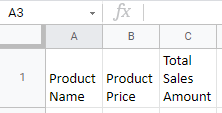
Just select the cell or range of cells where you want to wrap text (in this case A1:C1), and in the Toolbar, go to Text Wrapping > Wrap.

The result is similar: All selected text is split into multiple rows to fit the cell widths.
