How to Copy & Paste Range or Object as Picture in Excel
In this tutorial, you will learn how to copy and paste as a picture in Excel.
Copy and Paste as a Picture
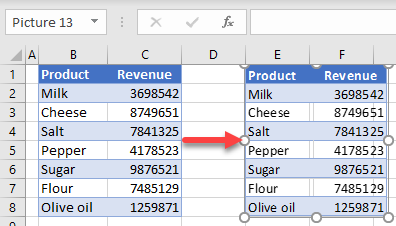
In Excel, you can copy and paste a data range as a picture. See the data in Columns B and C in the picture below. To copy and paste it as a picture, follow these steps:
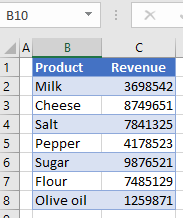
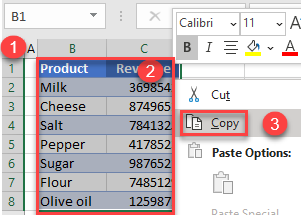
1. Select a data range (here, B1:C10), right-click anywhere in the selected area, and click Copy (or use the keyboard shortcut CTRL + C).
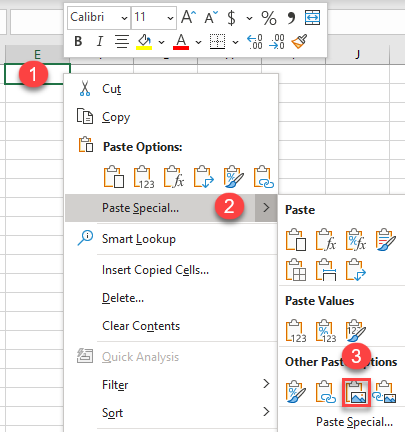
2. Right-click where you want to paste the range as a picture, click on the arrow next to Paste Special, and choose Picture.
As you can see below, the copied range is pasted as a picture.
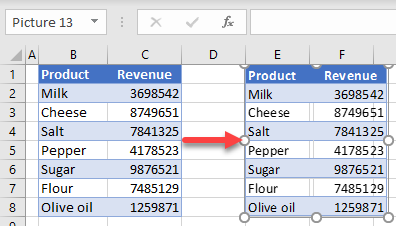
If you click on the picture, you can find the picture name in the Name box (Picture 13). Also, you get the picture frame that can be used to resize the picture.
Copy and Paste a Chart as a Picture
You can also copy a chart (or another object) as a picture in Excel.
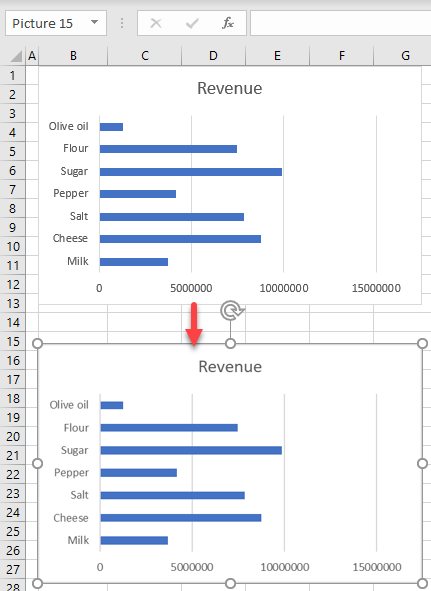
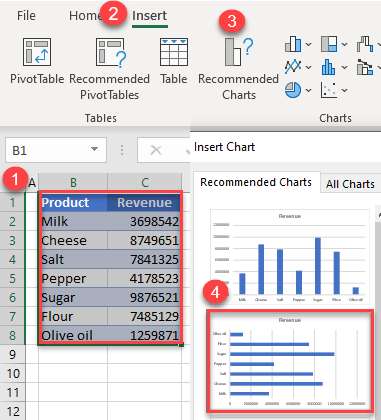
1. First, add a chart from the Product–Revenue data. Select the data range (B1:C8) and in the Ribbon, go to Insert > Recommended Charts. Then choose a chart.
2. Select the chart, right-click it, and choose Copy (or use the keyboard shortcut CTRL + C).

3. Right-click a cell where you want to paste the chart as a picture and click Paste Special.
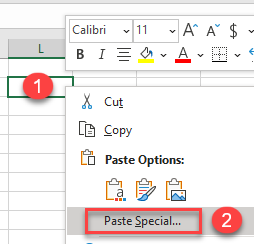
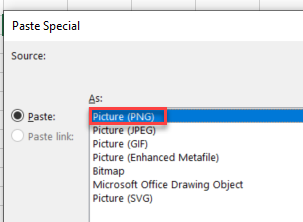
4. In the Paste Special window, choose the PNG picture format. (Here you could also choose different picture formats, such as JPEG, GIF, etc.)
Notes:
- In a similar way, you can also copy a table as a picture in Excel.
- You can also use VBA code to use Paste Special options.
- Unfortunately, Google Sheets doesn’t support copying as a picture.