How to Delete Every Other Column in Excel & Google Sheets
This tutorial demonstrates how to delete every other column in Excel and Google Sheets.

Sort and Delete Every Other Column
For worksheets with many columns, it may be best to sort the columns horizontally with a helper row.
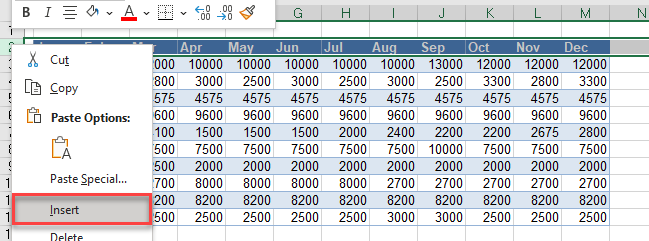
- Right-click on the row number in the top row of the data and select Insert to insert a new row above the data.
- In the cell just above the first column of data, type TRUE. Then in the second column, type FALSE.
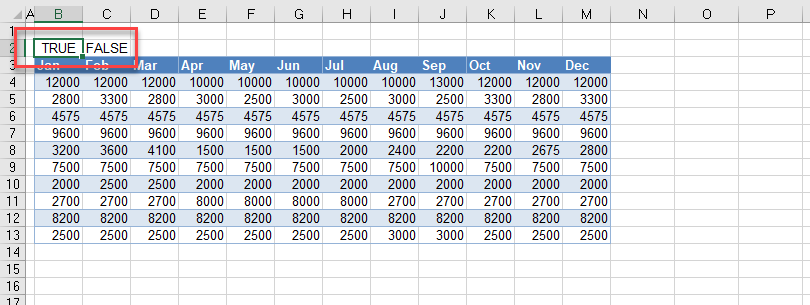
- Highlight the TRUE and FALSE cells, and drag them across to the last column with data.

- Release the mouse to copy TRUE and FALSE across the columns.

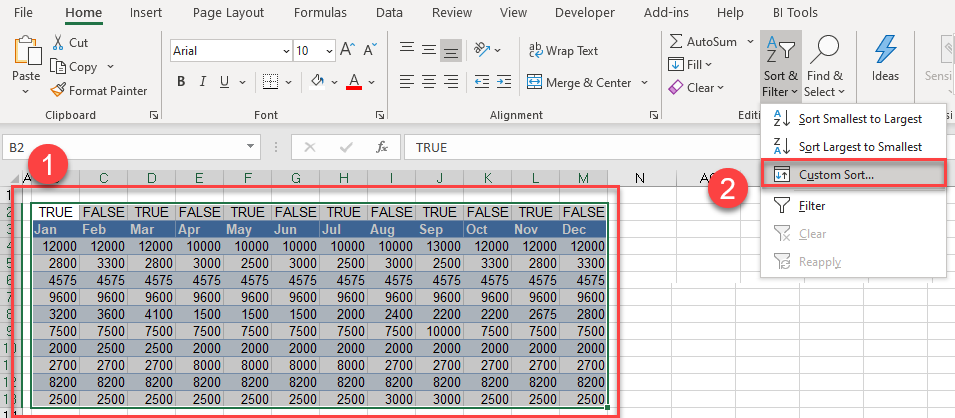
- Use the mouse to highlight the data and then in the Ribbon, select Home > Editing > Sort & Filter > Custom Sort.
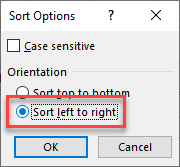
- Click Options.
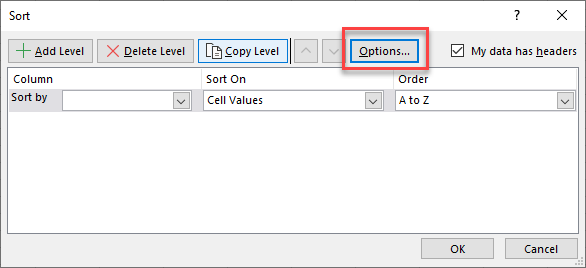
- Select Sort left to right, and then click OK.
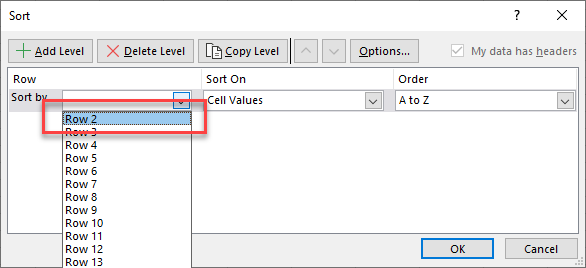
- In the Row: Sort by drop-down list, select Row 2.
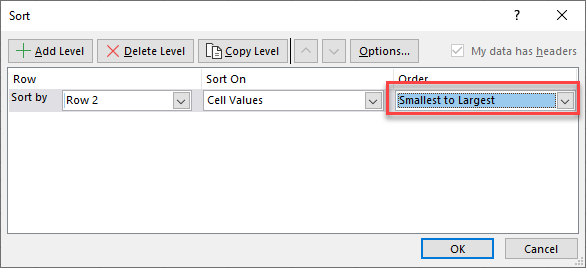
- In the Order drop-down list, select Smallest to Largest and click OK.
- All the FALSE columns are now sorted to the left, while all the TRUE columns are sorted to the right.
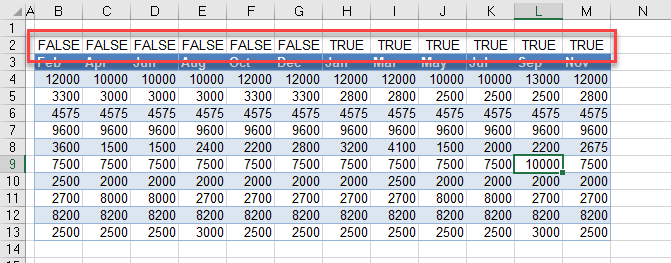
- Select the columns that are not needed.
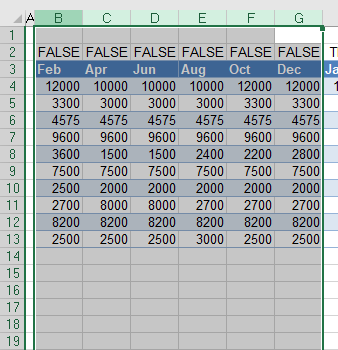
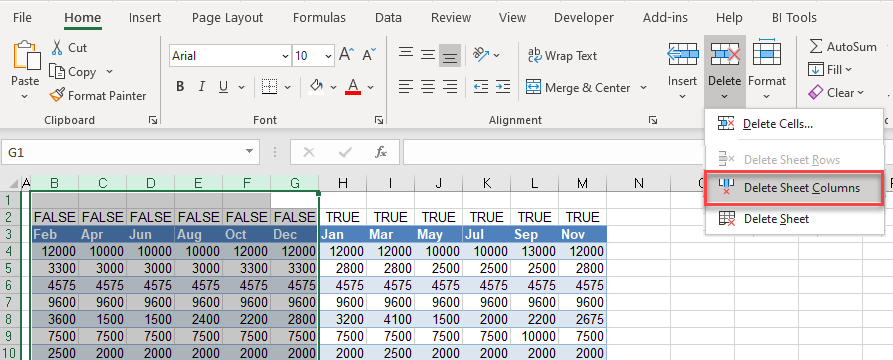
- In the Ribbon, select Home > Cells > Delete > Delete Sheet Columns to remove the columns.
- Delete the extra row (added in Step 1) to remove the remaining TRUEs and FALSEs.

Select and Delete Every Other Column
If you do not have a large number of columns, you can delete every other (or every nth) column by selection.
- Click on the column header of the first column to select the column.
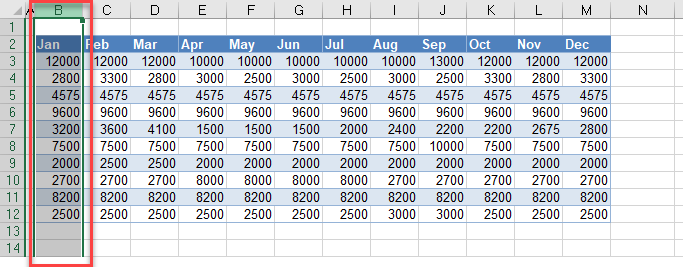
- Holding down the CTRL key on the keyboard, click on the column header of each column to be deleted.
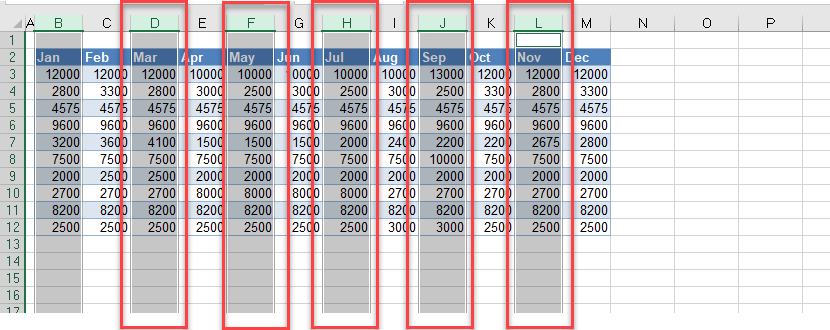
- Right-click on one of the column headers and select Delete.

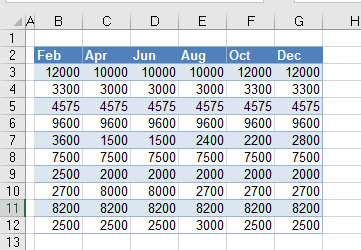
The columns are removed from the worksheet.
Deleting every other column in Excel can also be achieved by creating a macro using VBA.
Delete Every Other Column in Google Sheets
You can delete every other column in Google Sheets in exactly the same way as is done in Excel above.
