How to Change Orientation to Landscape in Excel & Google Sheets
In this article, you will learn how to change the page orientation from portrait to landscape in Excel and Google Sheets.

Change the Page Orientation to Landscape
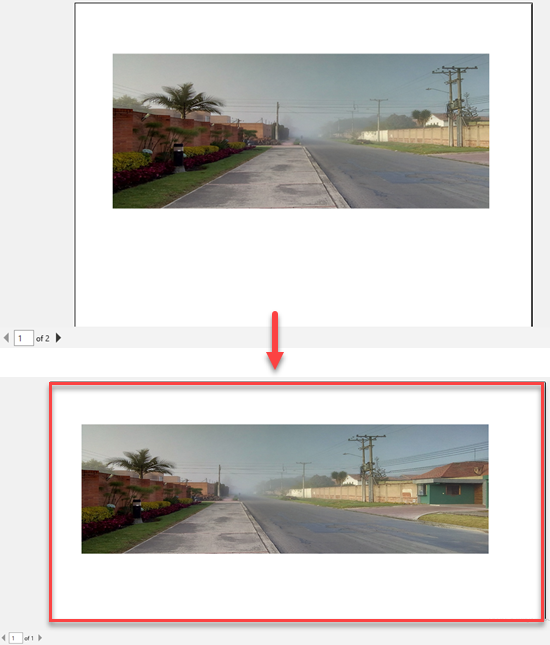
Landscape mode means the worksheet prints parallel to the long edge. Changing the orientation to landscape makes the page wider than it is tall and allows more columns to be viewed on a single page. In this example, you need to change the mode from portrait to landscape to fit the whole picture on a single page.
1. In the Ribbon, go to Page Layout > Orientation > Landscape.

2. To see how it will look when printed, in the Ribbon, click on File, and from the drop-down menu choose Print (or use the CTRL + P shortcut).

As a result of the previous steps the worksheet is in landscape mode. For this example, that means that picture won’t get cut off and printed on two different pages. Instead, it will fit on one page.

Change the Orientation to Landscape in Google Sheets
1. To change orientation to landscape, in the Toolbar, click on File, and from the drop-down menu choose Print, or use the CTRL + P shortcut.

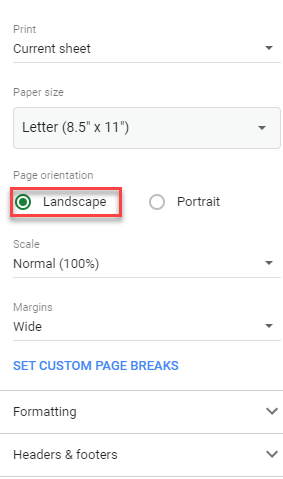
2. In the Print Setting window, under Page orientation choose Landscape mode.

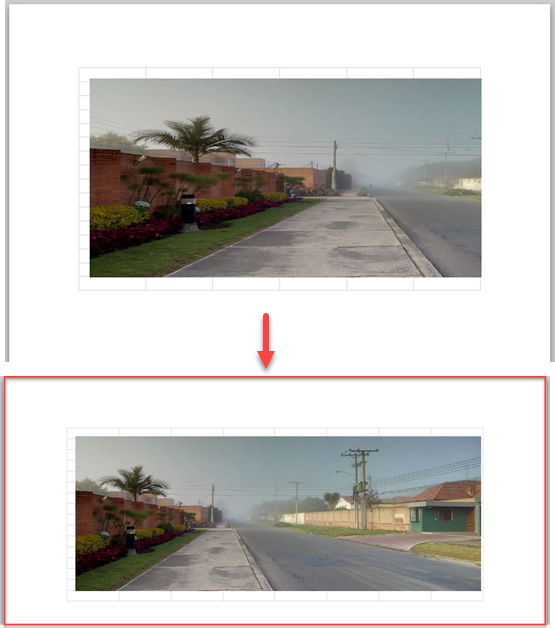
As a result of the steps above, the Google sheet is in landscape mode. In this example, if you print this picture in portrait mode, it gets cut off and printed on two separate pages. By choosing landscape, this can be avoided; the picture fits on one page.
