How to Filter by Date in Excel & Google Sheets
This tutorial demonstrates how to filter by date in Excel and Google Sheets.
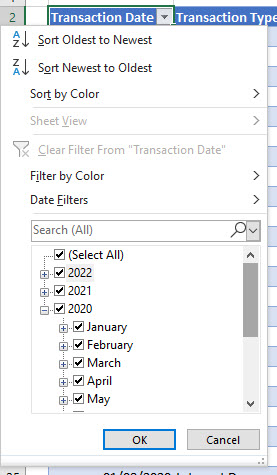
Apply Single Date Filter
- Click within your table of data and then, in the Ribbon, select Home > Editing > Filter.

- Click on the filter drop down in your date field.

- All available dates are selected. Click on the (Select All) check box to deselect all the records in your table.
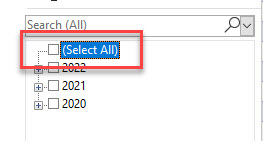
- Now, you can expand any years that appear to show the months within the years by clicking on the plus (+) sign next to each year. Once expanded, this changes to a minus (-) sign.
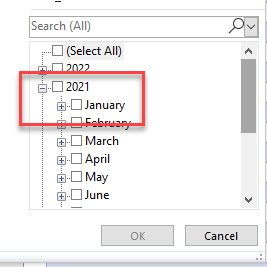
- Each of the months also have a plus sign next to them indicating that you can drill down even further to show individual dates.

- Click on an individual day and then click OK to filter by that date.

Clear Date Filter
To show all the records again, either select Clear Filter from Transaction Date or click (Select All) and then click OK.

OR
In the Ribbon, select Home > Editing > Filter > Clear.

This clears any filters that are set in your table of data.
Apply Filter to Multiple Dates
- Click on the filter drop down in your date field. and then select Date Filters.
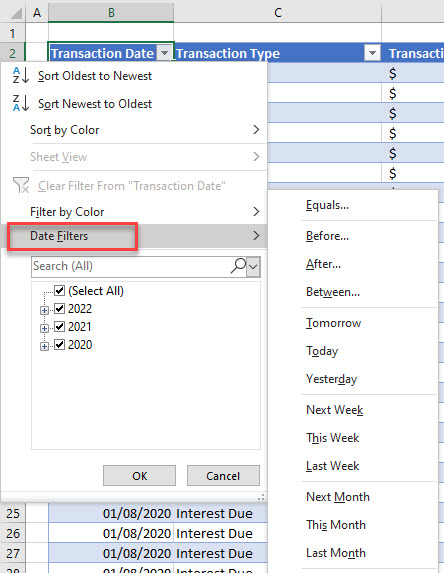
- You can now select from a variety of pre-set filters. Select Last Month.
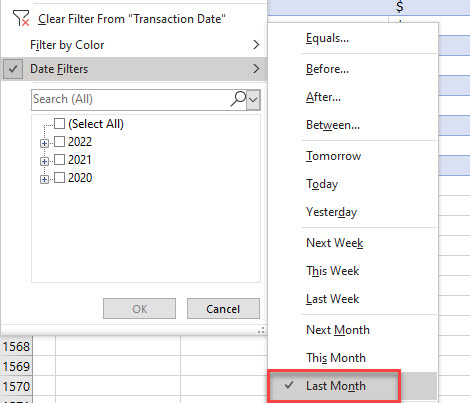
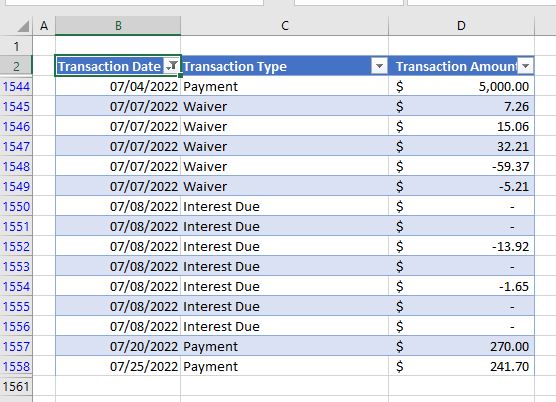
- You now see only the records that have a date within the last month.
- Clear the filter, and then, select Between.

- Select the Start and End Dates and then click OK.

Filter by Date in Google Sheets
Filtering by date in Google Sheets is slightly different from Excel.
- To apply a filter, in the Menu, select Data > Create a filter.

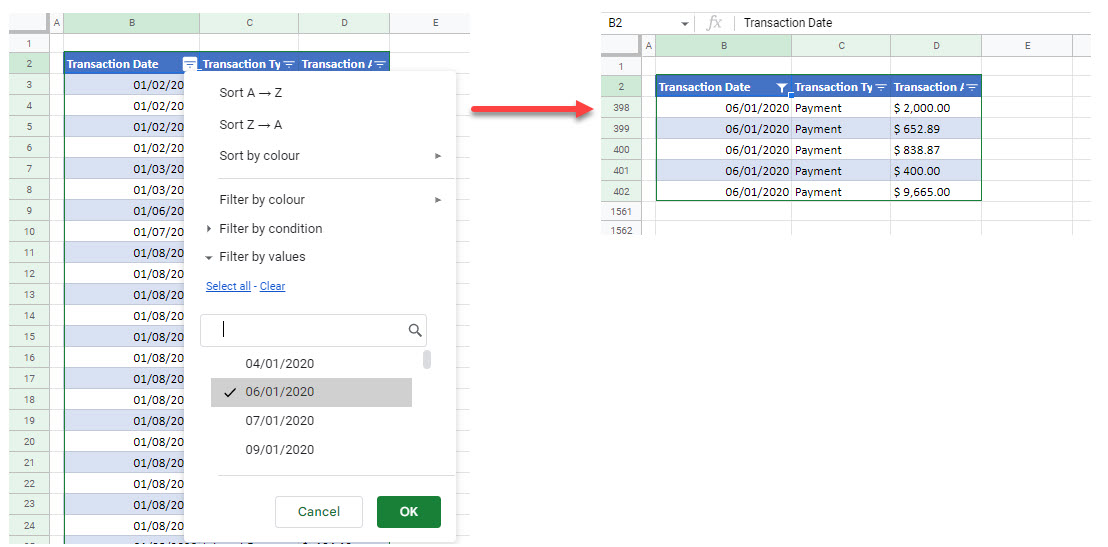
- When you select the drop down next to your date field, you can see that each individual date is listed. You can click clear to remove the check marks against each individual date.

- Then select an individual date and click OK.
- You can also filter by condition. Click Select All to remove the filter, and then select Filter by condition and then Date is
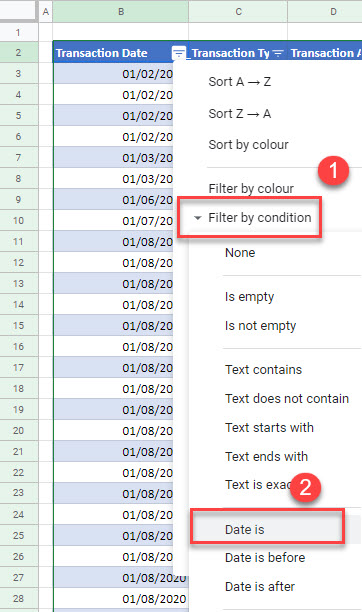
- Select in the past month, and then click OK to apply the filter.
